Prerequisites
A Webflow site with a CMS collection for your posts (for example
Blog Posts).The collection has a Rich Text field for the article body. Without one, RankBuddy cannot map the article and will say so during setup.
Your Webflow account can authorize apps for that site — Webflow only lists sites you’re allowed to install apps on.
A RankBuddy project for the same website.
Connect
1
Open the project's integrations
In RankBuddy, open your project and go to Settings → Integrations. Find Webflow in the list and press Connect.Coming from the Webflow Marketplace instead? The install link brings you to the same place — sign in, pick the project, and you continue from step 2.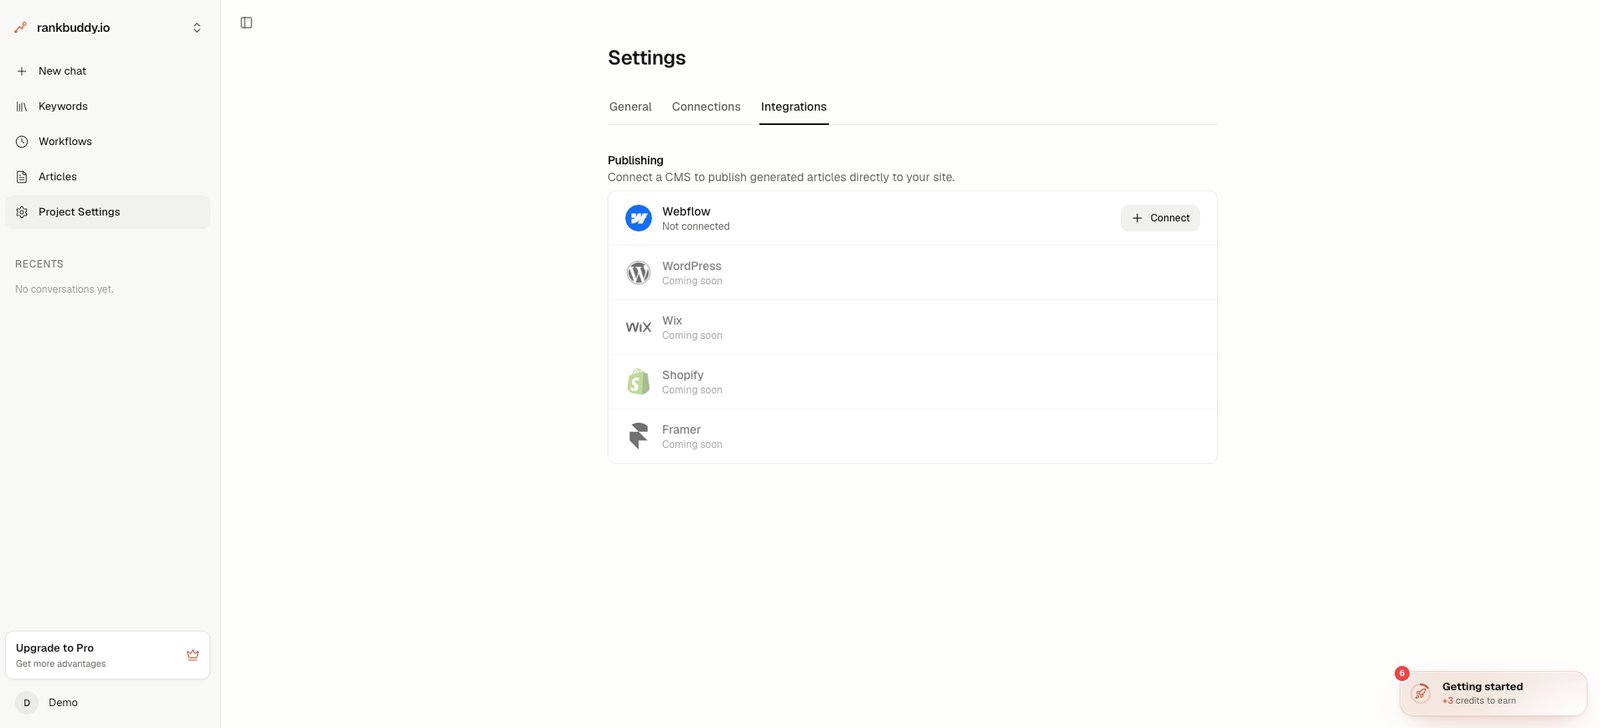
2
Authorize on Webflow
Webflow asks which sites you want to authorize and shows the access RankBuddy requests:
- Read Site data — to list your sites
- Read CMS data — to read the collection’s fields for mapping
- Edit CMS data — to create and update the articles it sends
3
Confirm the destination
RankBuddy pre-selects the site and the collection that looks most like a blog. Change Webflow Site or Webflow Collection if it guessed differently.
4
Check the field mapping
The article title and slug always go to the collection’s built-in Name and Slug fields. The rest is mapped for you and can be adjusted: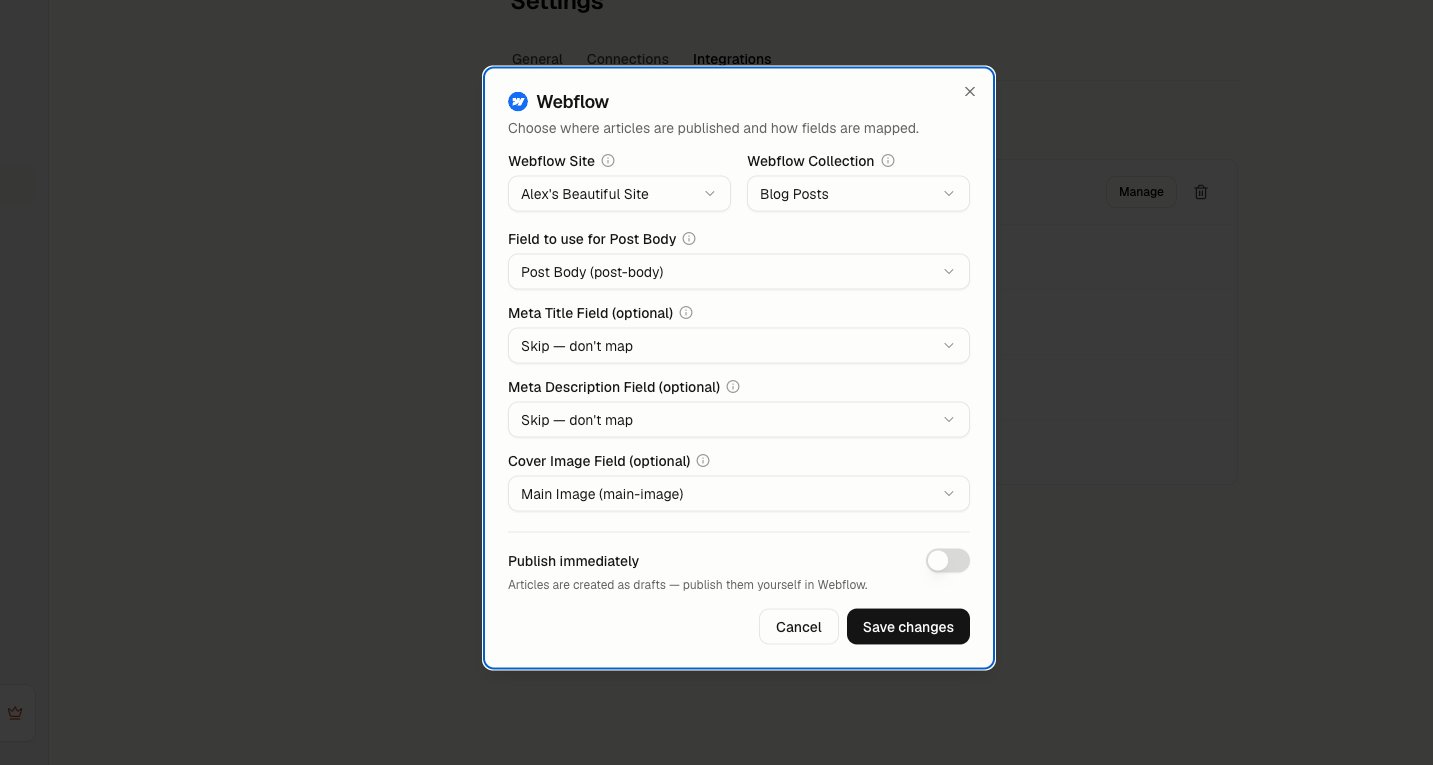
Anything left as Skip — don’t map is simply not managed by RankBuddy, so a field you fill in Webflow by hand stays yours.
5
Decide how articles arrive
Publish immediately is off by default: articles are created as drafts for you to review in Webflow.Turn it on only if you want every delivered article to go live on your site as soon as it syncs.
6
Save
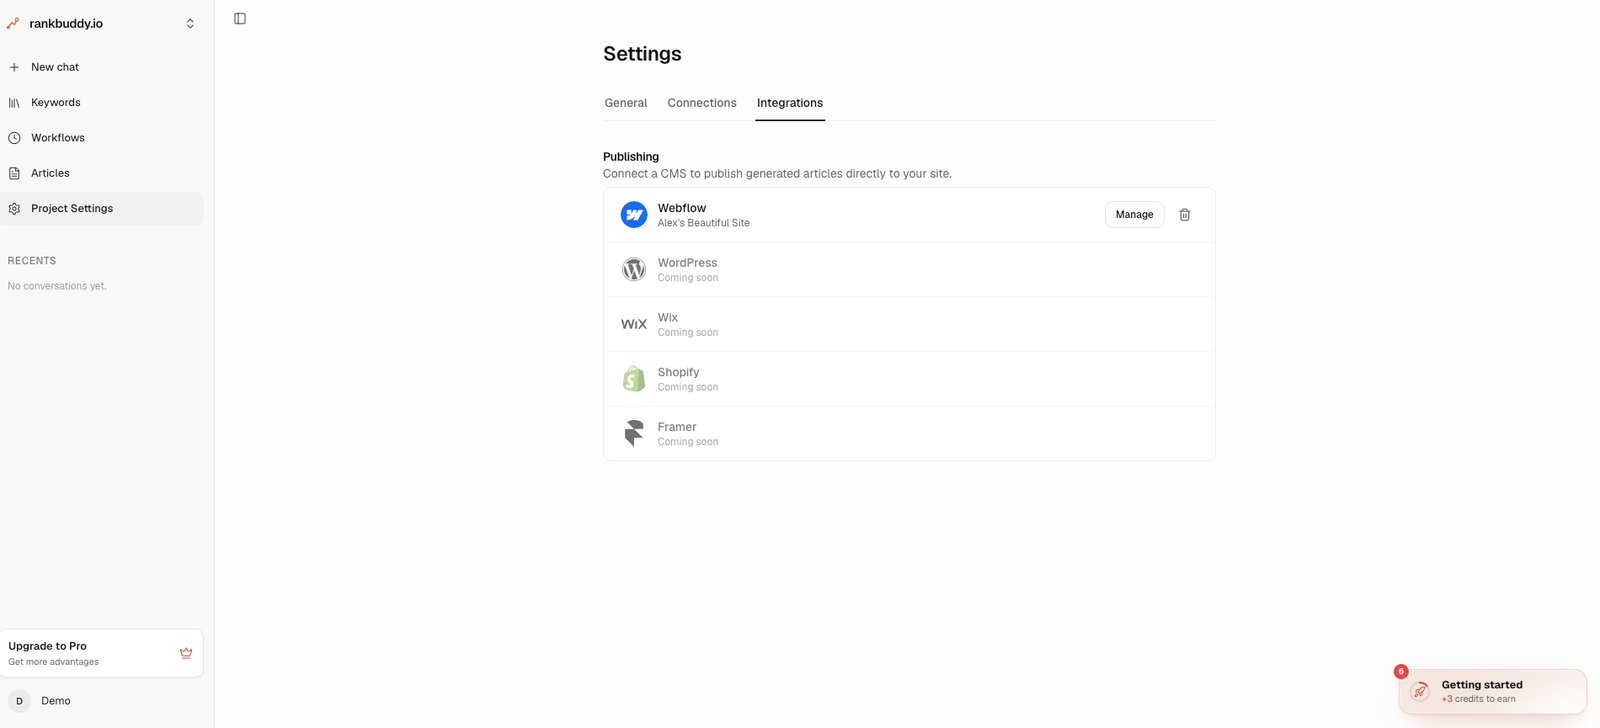
Press Save. The Webflow row in Settings now shows the connected site, and articles can be sent.
Send an article
Open an article in RankBuddy and use Send to in the toolbar, then choose Webflow. A new item appears in the collection you selected.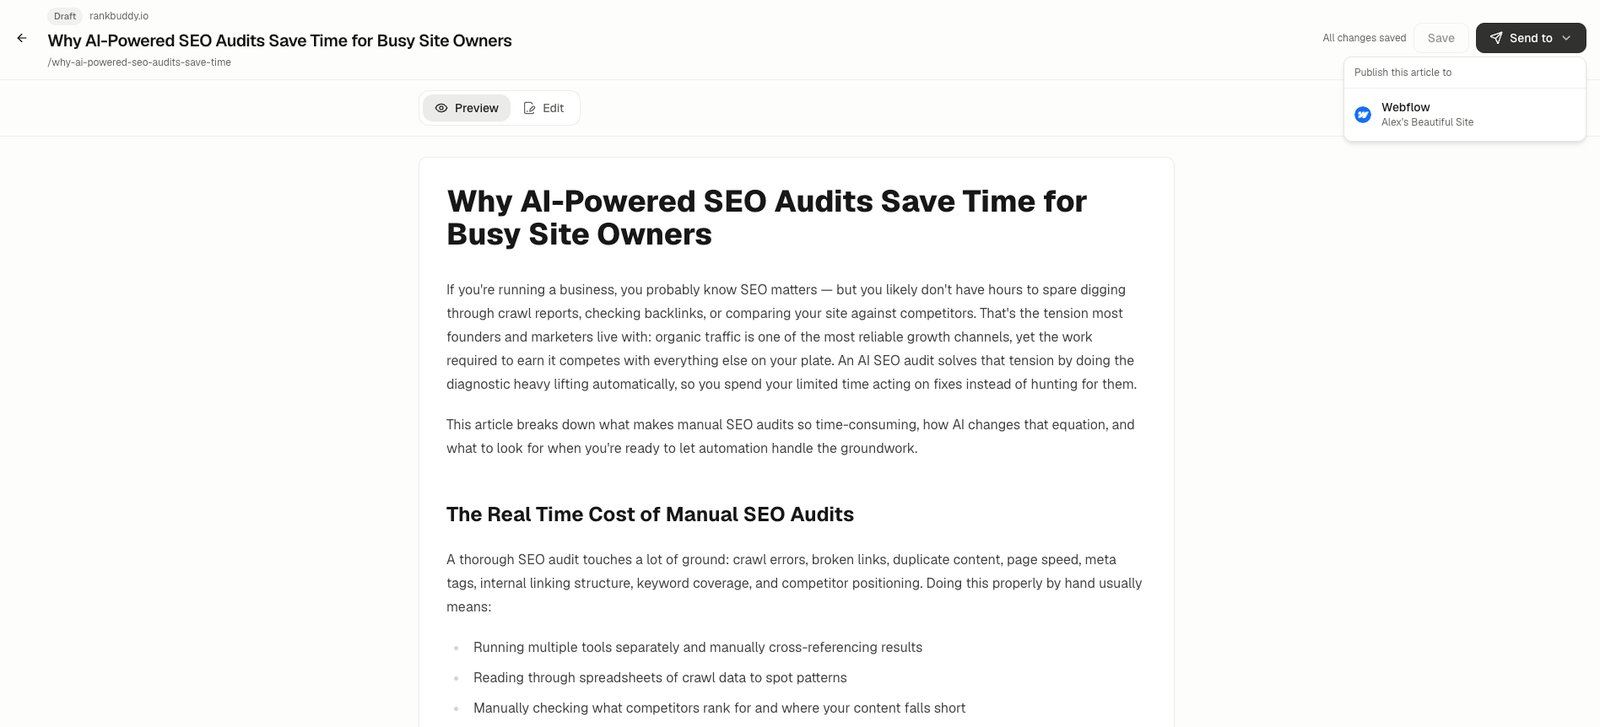

An article that you already published by hand in Webflow stays published when you re-send it. RankBuddy only sets the draft state on items it creates.
Reconnect or remove
If you uninstall RankBuddy in Webflow, or the access token is revoked or rotated, the next delivery fails and the Webflow row switches to Reconnect required. Press Reconnect and authorize again — your site, collection, and field mapping are kept. To disconnect, press the trash icon on the Webflow row. RankBuddy deletes the stored token and revokes its authorization in your Webflow account. Articles already delivered stay in your CMS.